I’m Sarah, a Naturopathic Doctor, wellness enthusiast and health-foodie. I’m a well-being advocate and green kitchen guru who is living my true purpose while guiding patients through their personal health journeys. I’m also a complete and utter health food fanatic who wants to see everyone benefit from eating healing foods!
February 25, 2019 By Sarah White No Comments
This year my husband and I have decided to commit to a monthly ‘Homesteading in the City’ post to document our adventures in farming / harvesting / chicken-raising / foraging from our tiny plot of land in Toronto. So far, you’ve learned all about our chickens, and our favourite ways to preserve & ferment our backyard bounty. Thanks for tuning in, and we hope you enjoy our new adventures in Kombucha making from This Doctor’s Homestead.
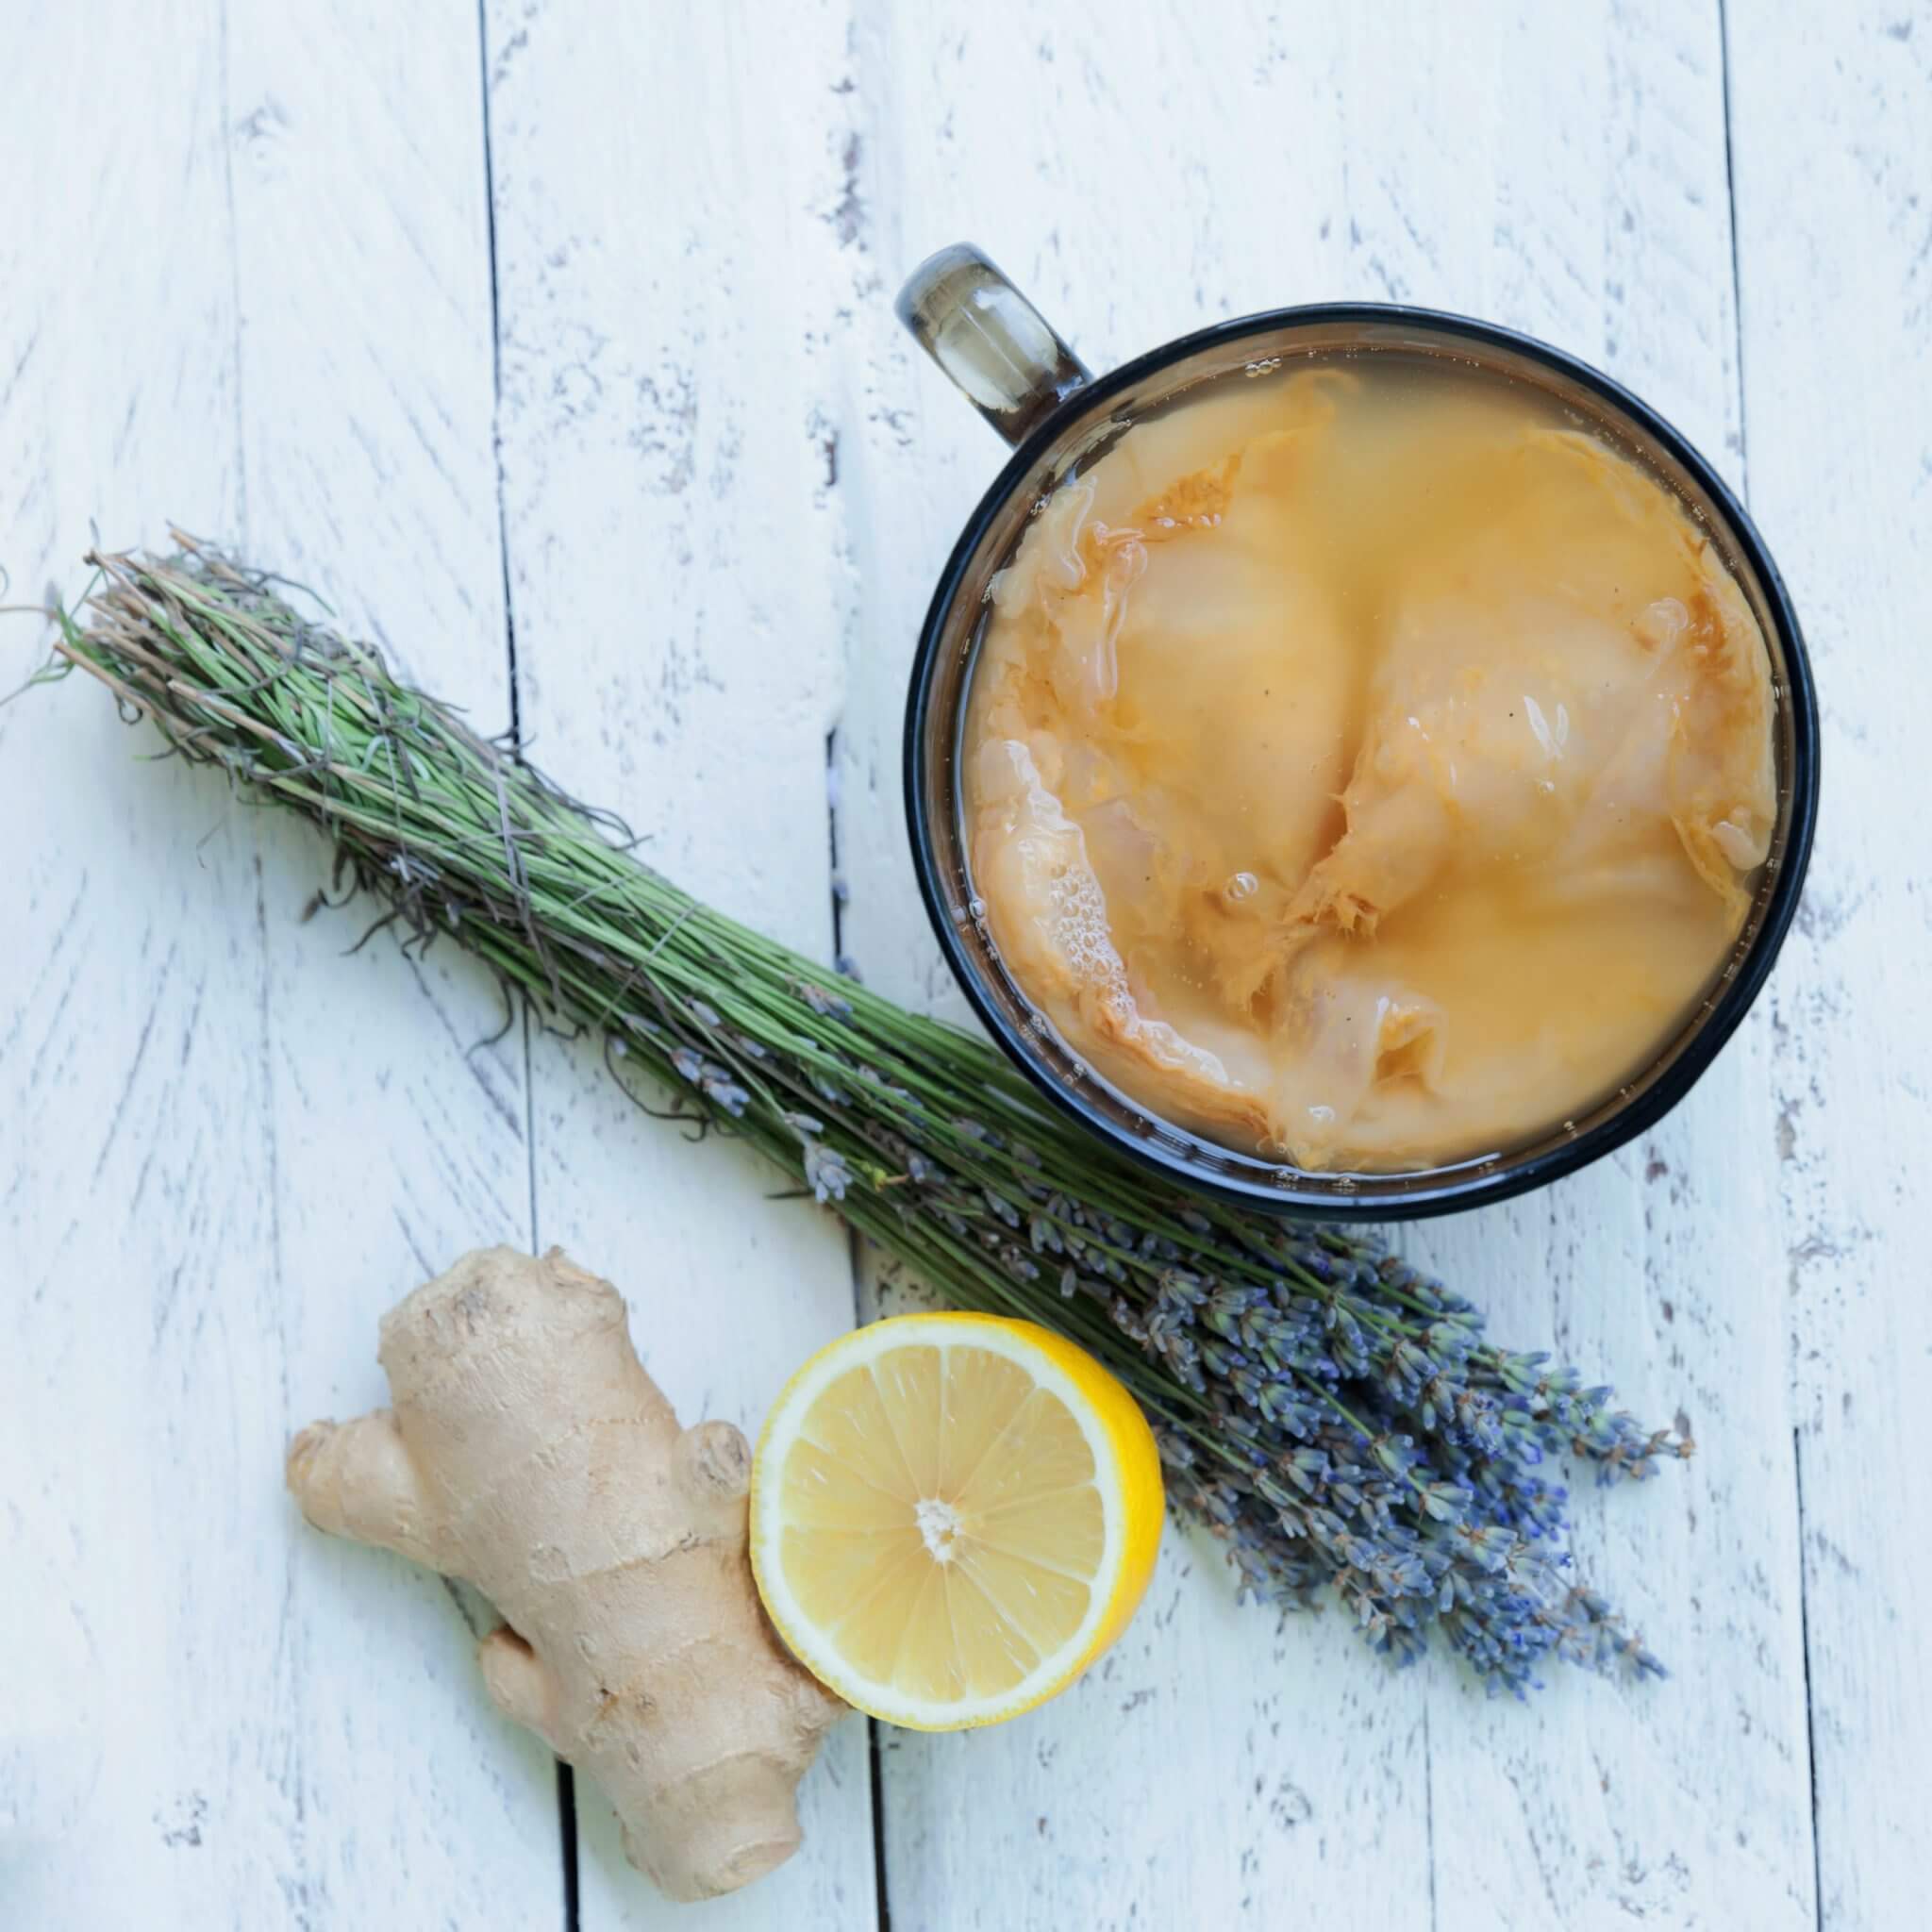
A healthy gut is the foundation for optimal wellness and I love prescribing a cup of kombucha daily as part of my patient’s customized integrative wellness protocols. Great health begins in the gut and while processed and unhealthy foods damage the intestinal lining, fermented foods and drinks like kombucha can actually help to repair intestinal damage and heal your digestive system.
Kombucha is made by fermenting sweetened tea with a symbiotic colony of bacteria and yeast (aka SCOBY, aka SCOBY-Steve in our house). During fermentation the bacteria in the SCOBY breaks down the sugar in the tea to release healthy probiotic bacterium. This fermentation process also creates a ton of beneficial nutrients including glucuronic acid (helps build collagen & cartilage), caprylic acid (a natural anti-fungal) and butyric acid (which can strengthen the gut lining and feed the short-chain-fatty-acid producing bacteria in the intestines). A recent study which analyzed the health benefits of Kombucha also found it to be rich in 2 strains of beneficial bacteria; Gluconacetobacter and Lactobacillus. These two bacteria are important to gut health since they’re two of the most prevalent beneficial strains found in a healthy human microbiome.
In a quest to save a little money on our astronomical monthly grocery bills (organic food is a splurge but 100% worth-it) my husband Kyle and I began brewing our own Booch at home. We started by taking a class with Vibe Kombucha a few years ago and have been slowly perfecting our recipes & approach ever since. Here’s everything you know about making your own Kombucha at home:

First, make sure all your pots, vessels and materials are clean and free of soap residue to prevent harmful bacteria from gathering in your ferment. You can put all your supplies through a hot dishwasher with organic dish washing liquid to ensure that all is clean before your begin. Bring your water to a boil in a pot on the stove then add your tea and steep for 30 minutes. Once your tea has steeped remove your tea bags/strain your tea and add the sugar, stir until it’s completely dissolved.
Fool proof ratio for Kombucha making:
Add the warm tea & sugar concentrate to your brewing vessel along with additional cold filtered water to cover 3/4 of the volume of your glass or ceramic vessel. Check the temperature of your tea to make sure its 80F or below, then add your SCOBY and starter tea (this is the liquid that comes with your SCOBY + 1 additional cup of brewed and fermented kombucha from a previous batch). By adding a ‘starter’ to your batch you will lower the pH of your brew to prevent the growth of mould or bad bacteria. Once everything is added cover your vessel with a cloth or paper towel and secure with an elastic band. Set your Kombucha out of direct sunlight and let the new brew fermented for 7 – 14 days.
After 7 days taste test your batch, if it’s still too sweet let it sit for a few more days until it tasted slightly vinegary and acidic.

After 1 – 2 weeks your booch is ready to bottle and drink. For bottling, you will need to have some clean sterilized bottles ready (white vinegar is an excellent soap-free sterilizing agent along with some boiling water). With clean hands reach in and remove your SCOBY and put it in your clean glass bowl along with 2 cups of kombucha (around half from the top of the vessel and half from the bottom is ideal), store the SCOBY in the fridge until you are ready to brew another batch – if you’re planning on leaving it more than a couple weeks you should feed it some sweetened tea weekly to make sure it has enough food to live. Pour your booch into those clean bottles and store in the fridge for up to 2 weeks.
The 2nd ferment is optional, but highly recommended. It’s a shorter fermentation process which allows you to add additional flavours or sweetness to your kombucha. It also increases the carbonation of your brew since the sugar added during this phase reactivates the yeast in your kombucha which consume the sugar and produce carbon dioxide as a by-product (one of my brews exploded in our fridge last year – the carbonation is real people!). Most experts recommend ‘burping’ your bottles daily to prevent over carbonation and explosions. There’s no hard and set rules as to how long a second ferment should take so I suggest tasting it daily until you’re happy with the flavour, at which point you can store them in the fridge for 1 week.
Some of our favourite flavour combinations so far include: mojito mint (mint + lime), mixed berries + ginger, chaga chai, peach + ginger, strawberry + basil, citrus (mixed juices + peels) and grapefruit mimosa.
Looking to connect with a Naturopath in Oakville to discuss your gut health and develop a personalized plan? Book your appointment here.
At home fermenting is generally safe, and always extremely gratifying. Be sure to use caution and store / sterilize your bottles and vessels thoroughly to prevent harmful bacteria from accumulating. Use your judgement when consuming homemade fermented products – if it looks ‘off’ it’s always best to toss it and start again. Dr. Sarah & This Doctor’s Kitchen are not responsible for any at home brewing misadventures.

Dr. Sarah White is a Naturopathic Doctor, Integrative health expert and the founder + CEO of This Doctor’s Kitchen — your evidence-based resource for all things health and wellness. Dr. Sarah takes a food-first approach to health with a focus in fertility, longevity and natural beauty. She is recognized as an expert in women’s hormones, thyroid health and anti-aging. Dr. Sarah is a published health author with features in Elle Canada, Best Health, EcoParent & Whole Family magazine.